Model Binding in ASP.NET Core using Razor Pages


TLDR; Model Binding automates the process by which web applications extract data from HTTP requests and converts it to .NET types, making it easier to pass information into an input model. In this post, we will see how and why model binding is used.
One of the concepts I have come across while learning how to build web applications using ASP.NET Core is Model Binding, which automates the process by which web applications extract data from HTTP requests and converts it to .NET types (like Integer and Boolean types). In this post, I will cover how model binding works and why it is useful.
ASP.NET Core and Razor Pages
Let's first give some context on the framework we are working on. There are two possible frameworks we can use in ASP.NET Core to build web applications – MVC and Razor Pages. We will be talking in the context of Razor pages throughout this article.
Razor pages are a useful framework to build data-driven websites with a clear separation of concerns. They are composed of two different files:
- One .cshtml file that acts as a "view page", meaning this is where we specify what will be displayed in our website. Most of the code is in HTML here, but razor syntax, the syntax used in razor pages, allows us to include executable C# code. When the razor page is processed, the browser receives HTML code used to display the page. This file also contains a Model Directive, which defines the type of model used in the page.
- Nested behind this there is a .cshtml.cs file, where the Model Directive class is defined. The .cshtml file will use an instance of this directive model class to display information.
In the .cshtml.cs file, inside the class that implements our Model Directive, we find handler methods. These are methods that are executed when an HTTP request happens. By convention, they match the HTTP verb used for the request (GET, POST, PUT, etc) to the name of the method, which always starts with "On". So the handler methods are called OnGet() OnPost() and so on. When we navigate to a website, the OnGet() handler will be used, because we are performing a GET request. If there is, for example, a form in the website that we can fill in and then submit, this will trigger the OnPost() handler method, because we are performing a POST request.
These are important to understand how model binding works because what's inside this handler method will be executed when the request is made, and this will be the point where model binding will come into effect.
The Manual Way
In our website, we might often want to reuse code coming from requests in other parts of our model. For example, if the website contains a form that the user can fill in and submit, we might want to reuse the values submitted somewhere else in the website. Let's look at an example.
If we create a very simple web application using ASP.NET Core, one of our Razor pages could contain code for a form in which the user submits some details about themselves and the website returns a sentence with a little introduction for the person.
We will have the following code in our Form.cshtml file:
@page
@model FormModel
@{
}
<h1>Form</h1>
<p>Enter your details.</p>
<h3>@ViewData["sentence"]</h3>
<form class="form-group" method="post">
<div class="form-group">
<label for="Name" class="col-sm-2 control-label">Name</label>
<div class="col-sm-10">
<input type="text" class="form-control" name="Name">
</div>
</div>
<div class="form-group">
<label for="Surname" class="col-sm-2 control-label">Surname</label>
<div class="col-sm-10">
<input type="text" class="form-control" name="Surname">
</div>
</div>
<div class="form-group">
<div class="col-sm-offset-2 col-sm-10">
<button type="submit" class="btn btn-outline-dark">Enter</button>
</div>
</div>
</form>
And our model class in the Form.cshtml.cs file can look like this:
public class FormModel : PageModel
{
    public class Introduction
    {
        public string Name { get; set; }
        public string Surname { get; set; }
        public int Age { get; set; }
        public string City { get; set; }
    }

    public void OnPost()
    {
        Introduction introduction = new Introduction();
        introduction.Name = Request.Form["Name"];
        introduction.Surname = Request.Form["Surname"];

        ViewData["sentence"] = $"Hi, my name is {introduction.Name} {introduction.Surname}!";
    }
}
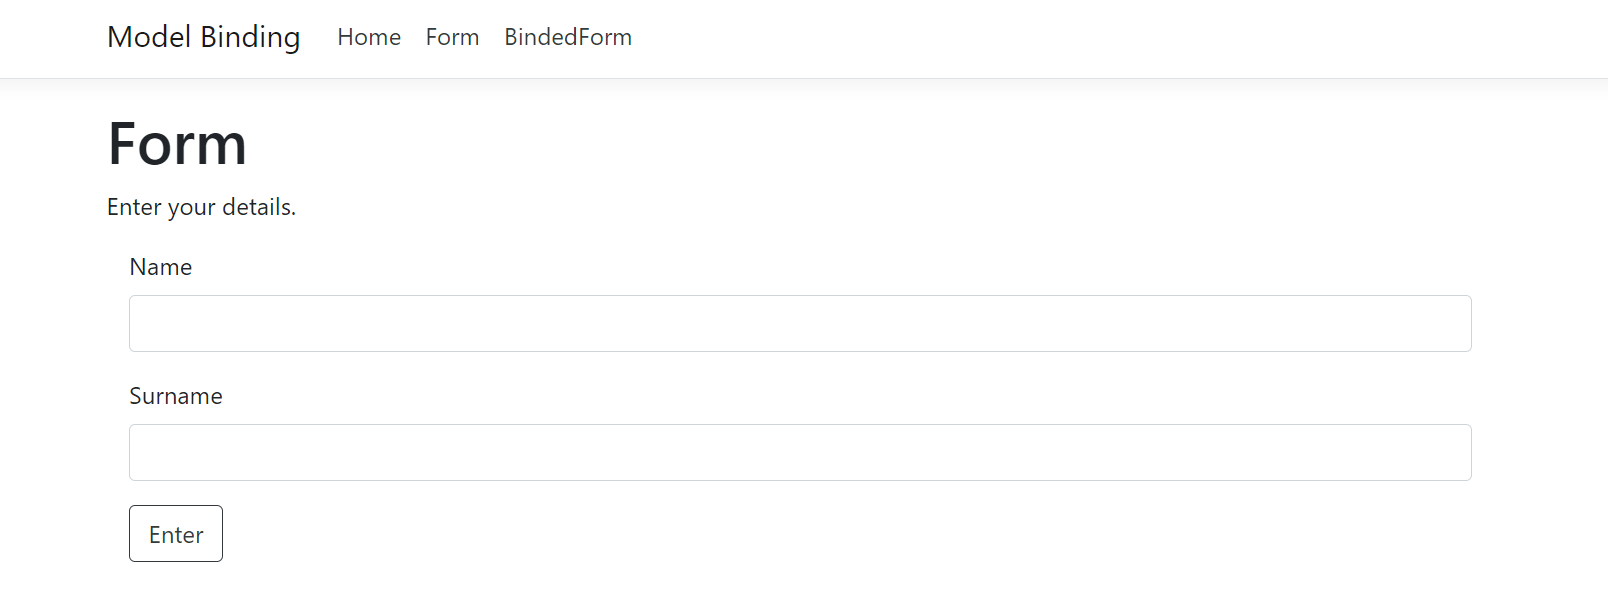
When we first navigate to the website, we get a simple form where we can submit our name and surname, and a short sentence is produced.

We didn't use model binding here, and yet our form works fine. So, what do we need model binding for? The reason we wouldn't miss any of the benefits of model binding in this example is that we only needed to retrieve two values here, which only need two lines of code. But forms could get very long and contain different types of values that need to be converted from strings into other types (such as integers if we were asking for someone's age in the form). The lines of code stack up very quickly, and makes our code more prone to bugs.
Model Binding in ASP.NET Core
This is where model binding becomes useful. The goal of model binding is to automate the process of passing information from an HTTP request into an input model.
Let's see how we can change the code in our PageModel class to use model binding by creating a new razor page called BindedForm. There are two ways in which we can use model binding.
One is to pass the parameters that we will want to return in the handler method. These parameters will be of the type of the expected parameters, meaning the type in .NET that we would have to "manually" convert them into if we weren't using model binding. We are purposely using a longer form for this example to show this.
public class BindedForm: PageModel
{
    public void OnPost(string name, string surname, int age, string city)
    {
        ViewData["sentence"] = $"{name} {surname}, {age} lives in {city}.";
    }
}
The second way of using model binding is to use public properties in our PageModel. To do this, we need to use the [BindProperty] or [BindProperties] attribute, which tells our program that we want model binding to target those specific properties.
The [BindProperty] attribute can be used above a public property.
public class BindedForm: PageModel
{
    [BindProperty]
    public string Name { get; set; }
    [BindProperty]
    public string Surname { get; set; }
    [BindProperty]
    public string Age { get; set; }
    [BindProperty]
    public string City { get; set; }

    public void OnPost()
    {
        ViewData["sentence"] = $"{name} {surname}, {age} lives in {city}.";
    }
}
The [BindProperties] attribute can be used on a PageModel class to apply model binding to all public properties of the class.
[BindProperties]
public class BindedForm: PageModel
{
    public string Name { get; set; }
    public string Surname { get; set; }
    public string Age { get; set; }
    public string City { get; set; }

    public void OnPost()
    {
        ViewData["sentence"] = $"{name} {surname}, {age} lives in {city}.";
    }
}
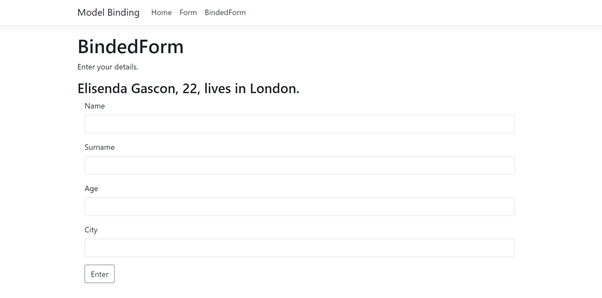
Both methods yield the same result:
One thing to note is that passing the parameters in the handler method will work both for POST and GET requests. The [BindProperty] however, will only target properties used in a POST request. In order to be able to target properties used in a GET request, we need to specify this in the attribute using [BindProperty(SupportsGet = true)] before the public property.
Conclusion
Model Binding is one of those features that the ASP.NET Core will do so seamlessly that it can be difficult to see what is actually going on behind the scenes. Understanding how data from HTTP request can be used by handler methods is useful to understand where the data showed in your web application comes from.